
Publishing more often is the obvious way to grow a site, but it only works if each post is worth reading for your readers. That is where many beginners get stuck. Writing from a blank page takes hours, and handing the whole job to a software produces posts that anyone could have written.
The Wealthy Affiliate AI tools can provide the solutions to both problems, as long as you decide ahead of time which jobs go to the AI and which jobs go to you. This article lays out one workflow for taking a single post from researched to published in a matter of minutes instead of hours or days.
Meet Ace, your AI helper inside Wealthy Affiliate
Ace is Wealthy Affiliate’s AI tool. In this workflow it gets the time consuming and mechanical jobs: putting a first draft on the page, organizing an outline, and reworking a paragraph that is not landing. It does not know your readers, your opinions, or what you have actually done on your own site. That part is your responsibility.
This article looks at one narrower question: how the tools fit together in a single, repeatable process.
Why faster publishing only helps if the posts still sound like you
Search engines and readers both reward pages that answer a question well. A page that repeats what ten other pages say gives them no reason to pick yours. Speed does not fix that. It makes the problem worse, because you can now produce ten forgettable posts in the time it used to take to write one.
Your voice is what makes the post real. For a site aimed at beginners, that means plain language, short sentences, and clear actions a reader can take. A draft that sounds like a brochure fails that standard, even when every fact in it is correct.
So the aim of the workflow is to remove the time consuming fragments of writing and keep the parts only you can supply: your judgment, your examples, and your way of explaining things.
Map your AI tools to the stages of one post
Every post goes through the same stages, whether or not you use AI. Seeing them separately makes it easier to decide who does what.
The Affiliate Marketing Content Creation Process
| Stage | Who Leads | What Happens |
|---|---|---|
| 1. Choose a Keyword & Reader Question | You | Choose your article topic, target keyword, and the specific question your reader wants answered. |
| 2. Create the Outline | You, with AI assistance | Organize the article into sections and decide what information each section should cover. |
| 3. Write the First Draft | AI | Use your outline to generate the first draft, turning your ideas into complete paragraphs. |
| 4. Edit & Improve the Content | You | Check facts, correct inaccuracies, improve clarity, remove generic wording, and make the writing sound like you. |
| 5. Add Your Personal Experience | You | Include your own stories, opinions, examples, and experiences to make the article more helpful and original. |
| 6. Add Images & Affiliate Links | You, with AI or design tools | Create or select relevant images, add screenshots, and strategically place affiliate links where they make sense. |
| 7. Review & Publish | You | Read the finished article from the reader’s perspective, make final corrections, and publish it on your website. |
The most important thing to remember: AI helps you organize ideas, create drafts, and save time. You remain responsible for the accuracy, personal experience, quality, and final publishing decisions.
This is a great way to make AI your writing assistant without losing your own voice as an affiliate marketer.
Start with the keyword and the reader’s question, not a blank page
A blank page and a blank prompt have the same problem: nothing tells you or the tool what the post is for. Before you open anything, write down two things.
- The keyword. The phrase a person would type into a search box in Google, such as “how to get your first commission at Wealthy Affiliate.”
- The question behind it. What does this person want to know or do when they type that? He wants a thorough answer about how to get his first Wealthy Affiliate commission. One sentence is enough.
The keyword tool, Ace, inside the platform can help pick a phrase for you worth targeting. Once you have it, write the reader’s question in plain words, for example: “A beginner wants to know what to do in the first month so they do not waste time.”
Then sketch an outline of five or six headings that answer that question in order. Each heading should be something the reader would nod at. If you cannot say what a section is for, drop it.
This takes about ten minutes, and it improves everything after it. A draft built on a clear question and a clear outline comes back far more focused than one built on a vague request like “write a post about affiliate marketing.”
Let Ace draft, then do the three edits it can’t do for you
Give the Ace tool your keyword, the reader’s question, and the outline. Ask for a draft that follows the outline and uses simple everyday language. Then read what comes back as an editor, not as the author.
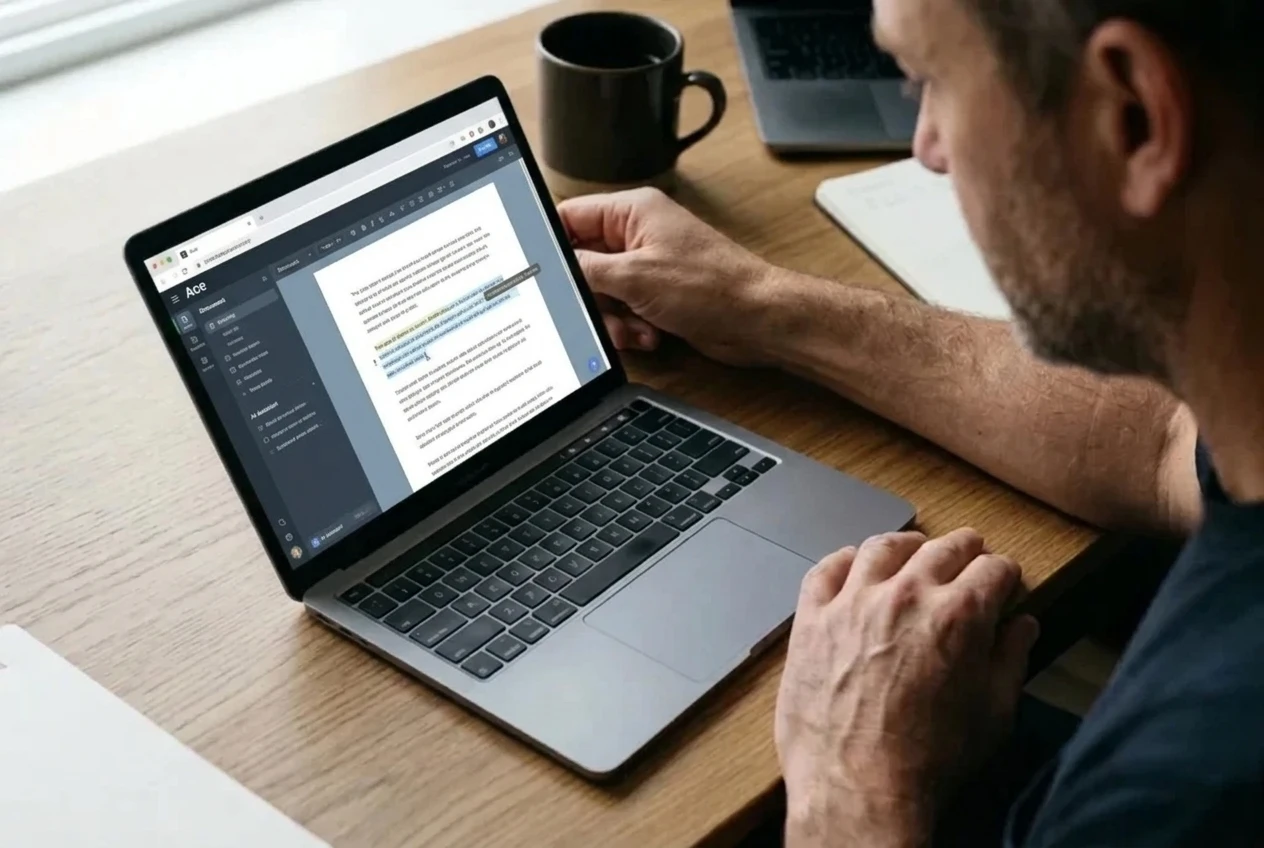
Three edits are worth making every time to be sure it makes sense.
1. Check every claim
An AI draft can state things confidently that are wrong, outdated, or impossible to verify. Look for numbers, prices, dates, feature descriptions and promises about results. If you cannot confirm a claim from the platform itself or a source you trust, cut it or rewrite the sentence so it does not depend on it. Beginners reading your site will act on what you say, so this edit protects them and your reputation.
2. Replace vague statements with specific ones
Drafts are full of sentences that sound helpful and say nothing, like “consistency is key” or “it’s important to stay motivated.” Find each one and ask what it actually means for this reader. “Publish one post on the same day each week” is something a beginner can act on. The statement, “Stay consistent” is not actionable.
3. Put it in your voice
Read the draft out loud. Anywhere you would stumble, or anywhere you would never say it that way to a friend, rewrite it. Shorten long sentences. Swap formal words for everyday ones. Cut openings that announce what the paragraph is about and start with the point instead.
Add your own story, screenshots and affiliate link placement by hand
This is the stage where the post becomes yours to do yourself. The tool has no experience to draw on, which means anything it writes about “what I did” or “what happened to me” is made up out of my own experience. Delete any line like that and replace it with something true about you.

Material only you can add includes:
- Your own experience. What you tried, what happened, what you would do differently. If you have nothing to say on a section yet, leave that section factual and add the story later, once you have one.
- Screenshots. A real screenshot of a menu, a setting, or a result shows the reader you have used the thing. Crop it so the relevant part is easy to see, and add a short caption that says what to notice.
- Opinions. Where you would recommend one option over another, and why. Readers come back for this opinions more than for facts they can find anywhere.
You place your affiliate links yourself. Put them where a reader who is ready for the next step will see them: after you have explained what the platform does and why it fits their situation, but not in the first paragraph. One or two well-placed links can feel natural and helpful. A link in every section makes the post read like a sales page. For example, if a reader is deciding between an affiliate marketing program’s plans, a link to a Premium versus free plan comparison can give them more clarity.
If you want visuals, your Artist, in the Studio, can produce images for the post. Check each one against the text so it adds something instead of just filling space.
Turn one post into a weekly routine you can repeat
A routine removes the daily decision about what to do next, which is where beginners often lose momentum. When the work is predictable, it is easier to simply repeat the process.

A simple weekly pattern looks like this:
- Choose the topic. Pick the next keyword from a running list, so you never start from nothing.
- Set aside two blocks of time. One for the outline and draft, another for edits, personal material and links.
- Use the same checklist each time. The same stages, in the same order.
- Publish on a fixed day. A deadline you set for yourself is easier to keep than “when it’s ready.”
- Add the next idea to your list. Ideas come up while you write. So note them before you forget.
Scaling means improving the routine before you add more posts. If one post takes you ninety minutes, you can choose to publish twice a week or spend the saved time on better edits. Either choice works because the process remains the same. If your goal is a first commission, the 30-day plan shows how steady posting fits into the first month.
Three habits that make AI-assisted posts feel generic, and how to break them
Publishing the first draft as it comes. The first version is an average of everything the tool has seen. Fix: always do the three edits mentioned above, and change at least a few sentences in every section so the words appear to be yours.
Using the same structure every time. If every post opens with a definition, lists five tips with a summary. Readers can notice the pattern. Fix: vary the shape to suit the question. A how-to can use numbered steps, a comparison can use a table, and a decision post can start with a direct recommendation.
Writing for no one in particular. When the prompt is broad, the draft speaks to a vague audience and uses vague words like “powerful,” “seamless” or “game-changing.” Fix: name the reader in your prompt, such as a beginner who has just joined an affiliate program and is unsure what to do first, and delete any adjective you could not back up with an example.
For more on writing content that helps readers, see the top 10 helpful content creation techniques article.
Your first test run: one post, one hour, one checklist
Pick one idea and give it a single hour. Here is one way to split the time.
The 60-Minute Affiliate Marketing Content Creation Workflow
| Time (Minutes) | Task | What to Do |
|---|---|---|
| 0–10 | Choose Your Keyword & Outline | Choose your target keyword, identify the reader’s question, and sketch your article outline. |
| 10–25 | Create the First Draft | Have AI produce the first draft using your outline as its guide. |
| 25–45 | Make Three Important Edits | Check factual claims, make statements more specific, and rewrite the content in your own voice. |
| 45–55 | Add Your Personal Touch | Include your own experiences, screenshots, examples, and strategically placed affiliate links. |
| 55–60 | Final Review & Publish | Read the article once from the reader’s perspective, make final adjustments, and publish. |
Before you publish, run through this checklist:
- Does the opening answer the reader’s question or point toward the answer?
- Is every number, price and feature claim something I confirmed?
- Is there at least one detail only I could have added?
- Does any sentence claim an experience I have not had?
- Are my affiliate links placed where a reader would want and see them?
- Would I say this out loud to a friend who is new to all this?
If the post takes longer than an hour the first time, that is normal. Note where the time went and adjust the routine next week.
Conclusion
Wealthy Affiliate’s Ace tools save you the most time at the point where beginners usually get stuck: getting a draft onto the page. The parts that make a post worth reading are still yours to do: picking the question your reader is asking, double-checking the facts, adding what you’ve actually been through, and deciding where your links go.
Run the same workflow each week and you will improve your speed while keeping your posts specific and in your own voice.
This week, pick one post idea from your list and run it through the workflow above. Then tell me how it went. Not a free member yet? Start on the free plan below, and experience using these tools yourself.
Here’s a little transparency: Our website contains affiliate links. This means if you click and make a purchase, we may receive a small commission. Don’t worry, there’s no extra cost to you. It’s a simple way you can support our mission to bring you quality content.